Welcome to Neptune Marine Products
A new era in trap and pot fishing has arrived!
Important…Please Read our updated shipping policy
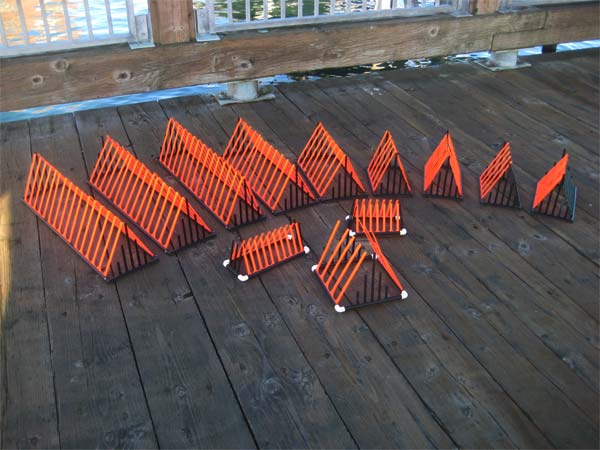
The introduction of Neptune Trigger entrances has started to change the way traps and pots are designed. Neptune Marine is best known for the invention of the Alaskan Cod and Crab Triggers in the late 1980’s. After 20 plus years, they are still the standard in the Alaska cod pot fishery and deep water king crab fisheries. Our ultimate one way entrance devices have applications in other fisheries around the world. Whether it’s for spiny lobster in New Zealand, or catching cuttlefish in the UK, fishermen are finding new applications for Neptune Triggers. Even here in the U.S. new applications are being discovered in the Dungeness crab fishery and the Florida deep water Golden crab fishery. Catch more by losing less is more than just a saying…it’s the truth when fishermen use Neptune Triggers.
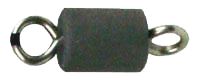
In addition to being known for our Trigger entrances, we are also well known as a major distributor of Galvanic Timed Releases. Galvanic Timed Releases, aka GTR’s or Pop Ups, are reliable underwater timers that have multiple uses in salt water. We sell across the US and into various International markets where they are used by fishermen and researchers alike.
We’re also known for our tubular Bait Bag Netting common in the Trotline fishery for blue crab as well as other fish and shellfish fisheries. We recommend the use of bait bags in all fisheries for one reason…..they’ll increase your catch.